How to Change Labels in Sleek Bill Debit Note?
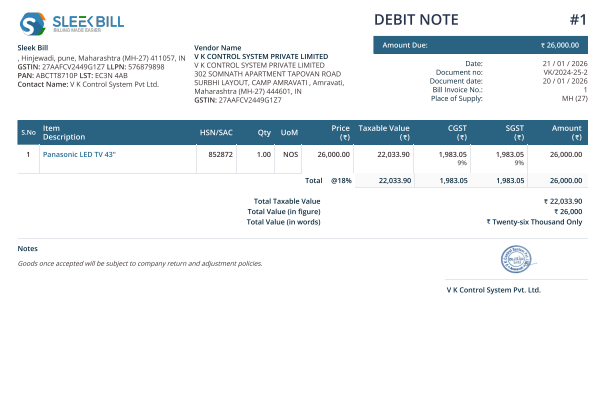
Debit Notes are
important business documents used for purchase returns, payment adjustments,
stock corrections, and supplier account updates. They help businesses maintain
proper accounting records and ensure transaction details remain clear and
organized.
Different
businesses use different terms and formats in their Debit Notes. Some
businesses may prefer labels like “Purchase Return”, “Adjustment Note”,
“Reference No.”, “Product Details”, or custom field names, according to their
workflow or business type.
That’s why
Sleek Bill allows you to easily customize Debit Note label names
according to your business requirements.
With Sleek
Bill, you can quickly change titles, custom fields, and other
document labels to make your Debit Notes look more professional, easy to
understand, and perfectly aligned with your business style.
Why Is Changing Debit Note Labels Important?
Customizing
Debit Note labels helps businesses create cleaner and more professional
accounting documents.
Benefits of
Custom Debit Note Labels
- Makes Debit Notes look more professional
- Improves document clarity for suppliers and accounts teams
- Helps match labels according to your business workflow
- Useful for purchase returns and adjustment records
- Makes documents easier to understand
- Helps maintain organized accounting documentation
How to Change
Labels and Columns in Sleek Bill Debit Note?
Step 1: Open
Sleek Bill Website
Open the official website: www.sleekbill.in
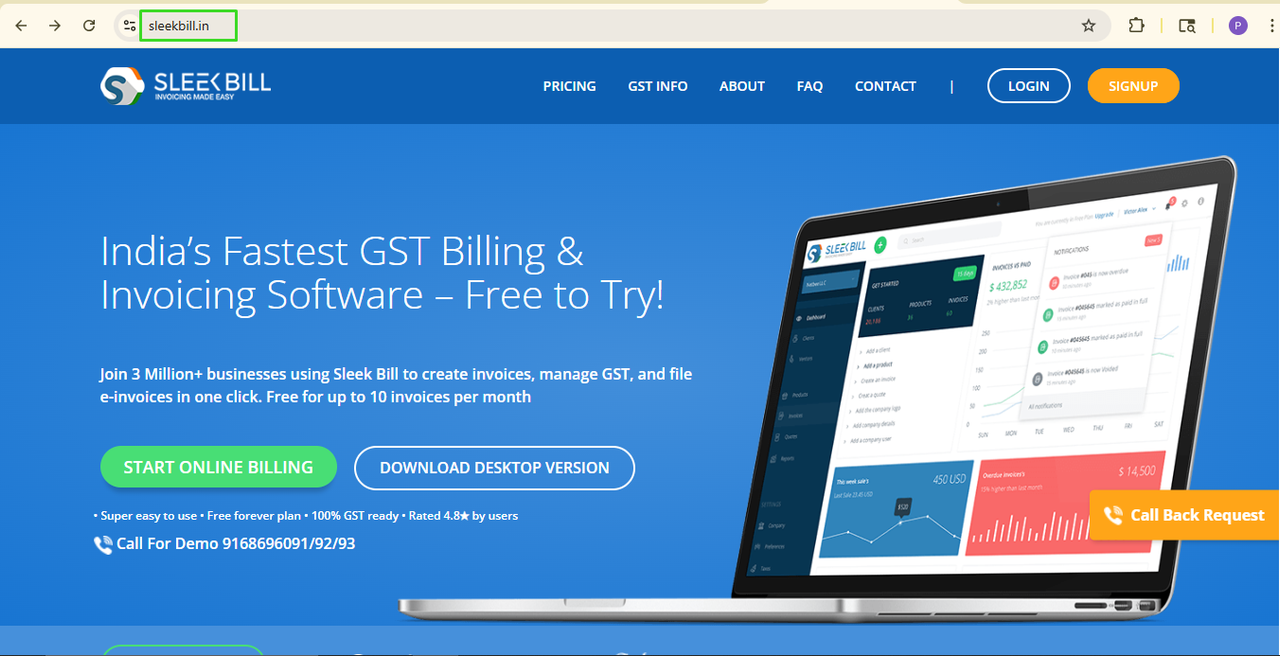
Step 2: Click
on the Login Button
Now click on
the Login button available at the top left corner.

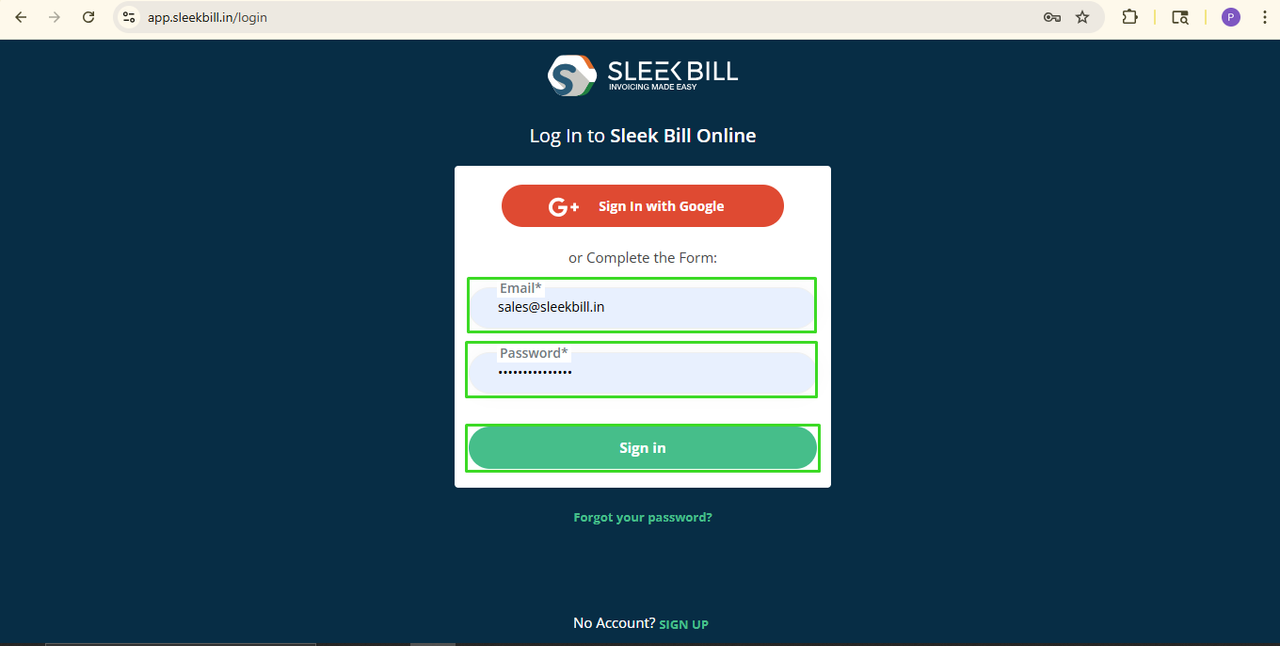
Step 3: Enter
Login Details
Enter your
login credentials and click on the Sign In button.
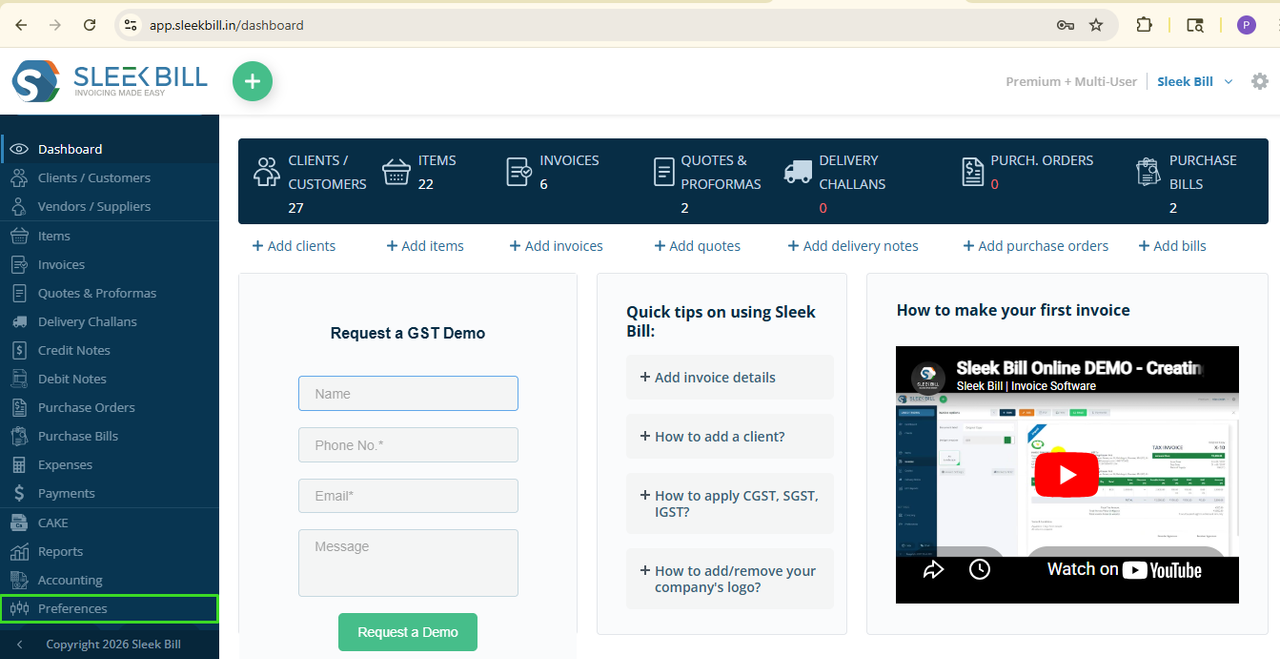
Step 4: Open
Preferences Tab
After logging
in, you will enter the Sleek Bill dashboard.
Step 5: Click
on the Debit Note Tab
Now, click on
the Debit Note tab available under the Documents section.
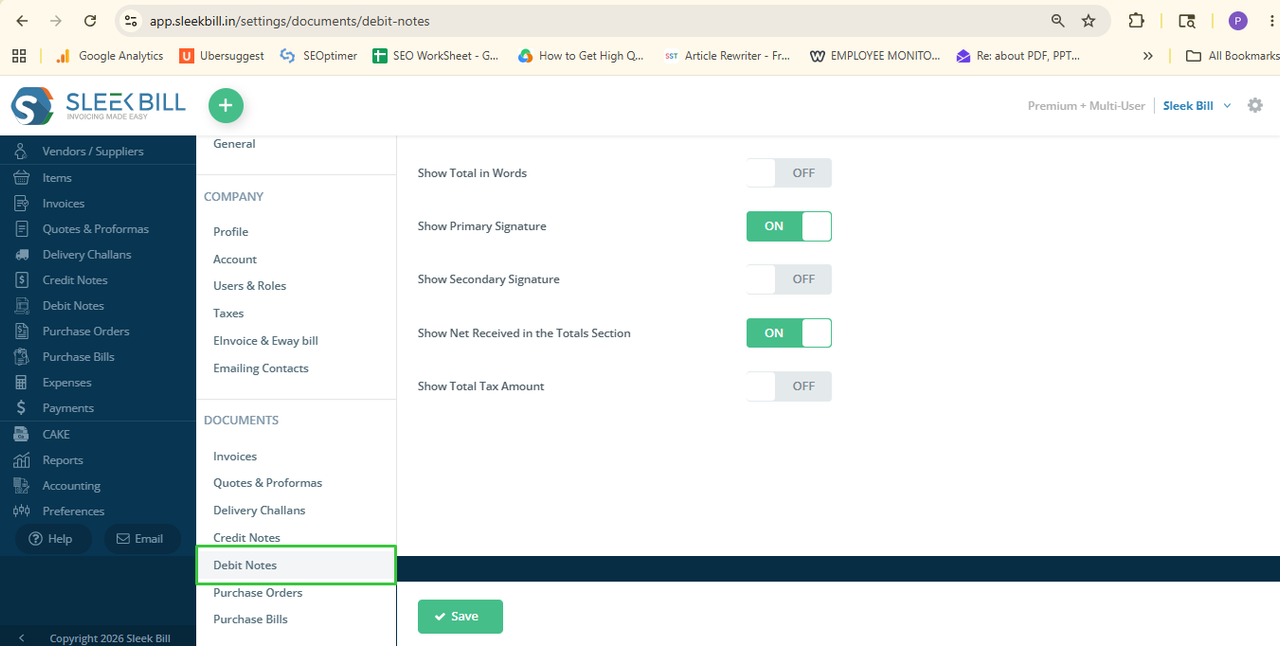
Step 6: Click on Labels & Column Tab
Now open the Labels tab. Here you can customize different labels and column names for your Debit Notes.
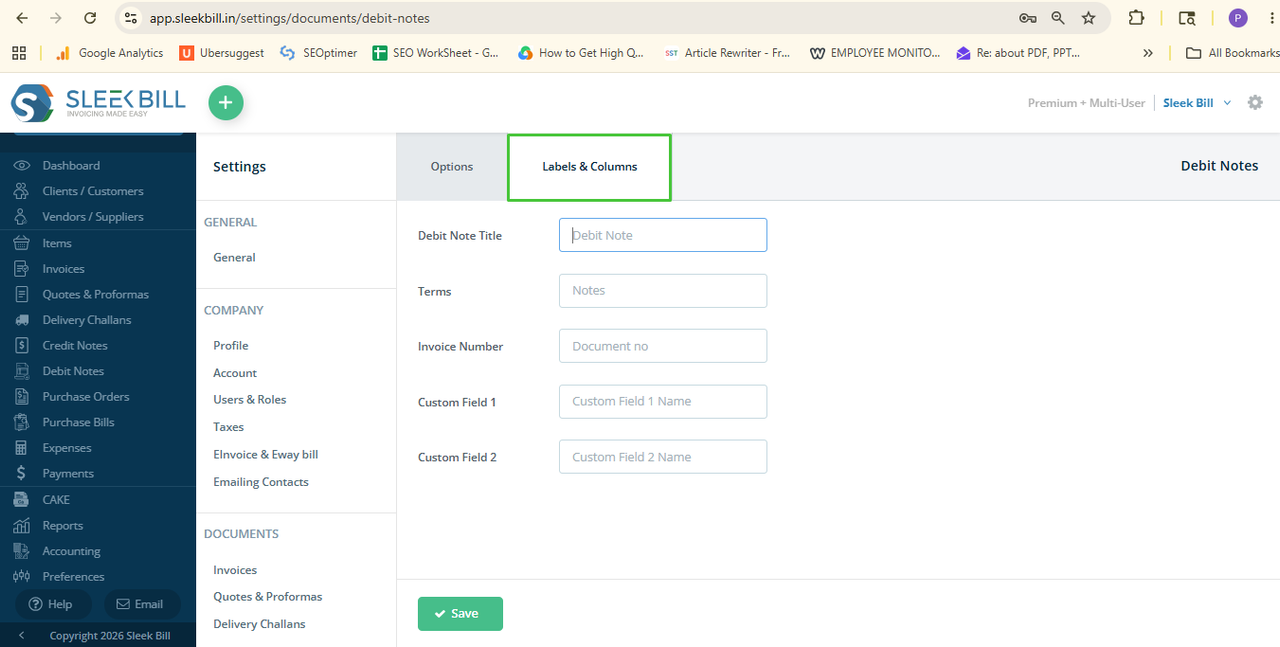
Step 7: Customize Labels and Columns
Now you can easily customize Debit Note labels according to your business requirements.
- Debit Note Title:
- Terms: You can customize Terms labels like Terms & Conditions, Important Notes, Business Terms, Purchase Terms, Return Terms, Adjustment Notes, Supplier Instructions.
Invoice Number:
Custom Field 1 and Custom Field 2: You can use Custom Fields for Supplier Remarks, Transport Details, Return Reason, Warehouse Details, Batch Number, Reference Notes, Internal Comments, and Adjustment Details.
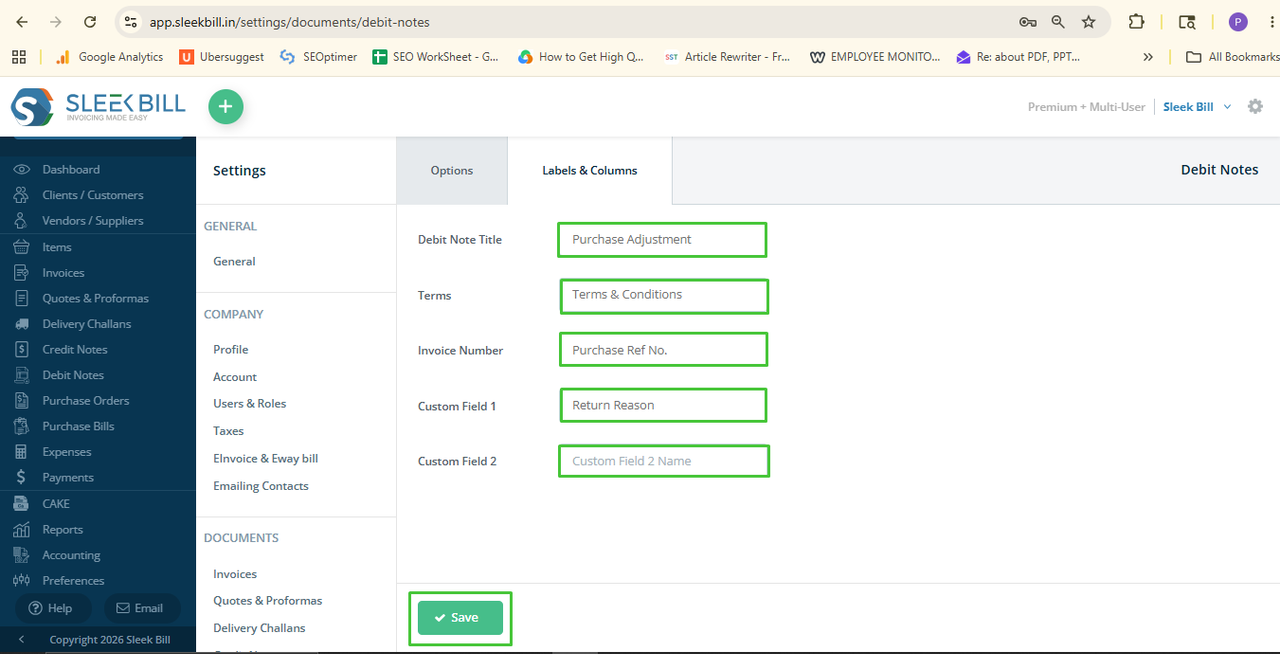
Step 8: Save the Changes
After making all the required changes, click on the Save button.
What Happens Next?
Once the settings are saved, your updated labels and column names will automatically appear in every new Debit Note you create.
This helps you generate professional, customized Debit Notes that perfectly align with your business workflow and accounting processes.

Conclusion
Changing labels and column names in Sleek Bill Debit Note is simple and very useful for businesses. It helps create clean, professional, and easy-to-understand debit notes as accounting documents.
When you customize these labels according to your workflow and business type, your documents become more organized, reduce confusion, and create a better experience for suppliers and accounting teams.
Was this article helpful?