🧾 Billing & Invoicing
How to Show Contact Person in “Quote To” Section in Quotation
Why Show Contact Person in Quotation/ Proforma?
Displaying the contact person in quotations helps you:
- Send quotations to the correct person
- Improve communication clarity
- Maintain professional documentation
- Avoid confusion in organizations with multiple departments
- Personalize business communication
Steps to Show Contact Person in “Quote To” Section
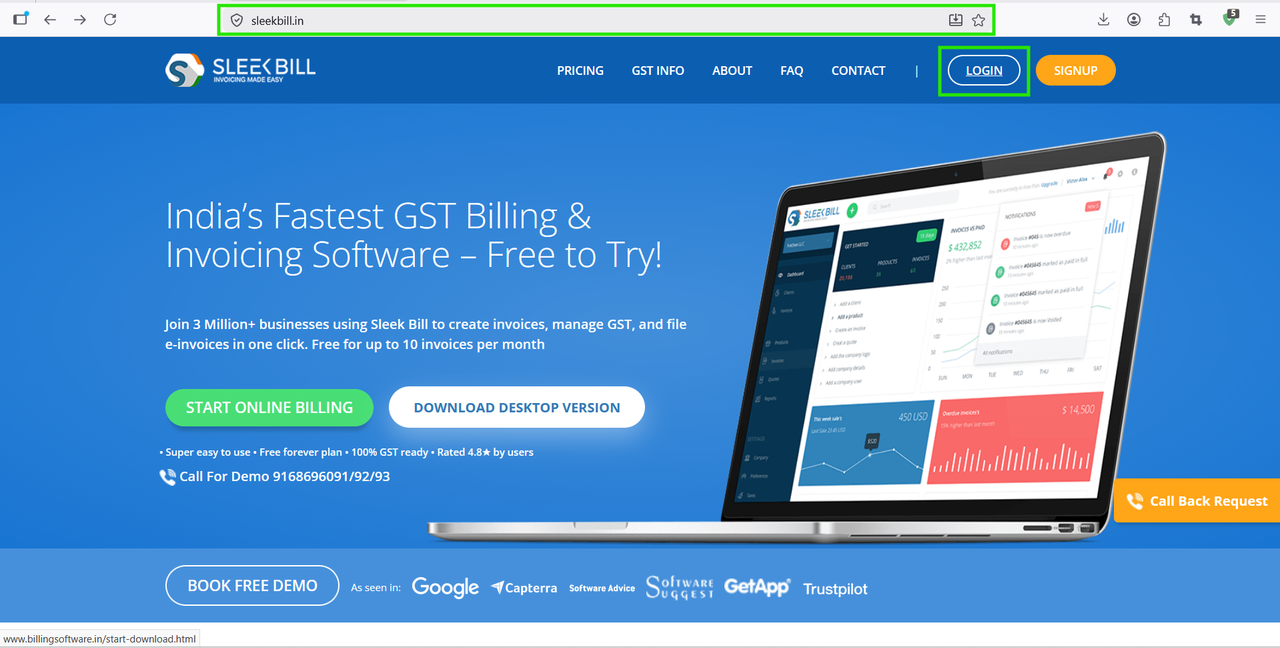
Step 2: Enter your registered Email ID and Password, then click on Sign In.
.png)
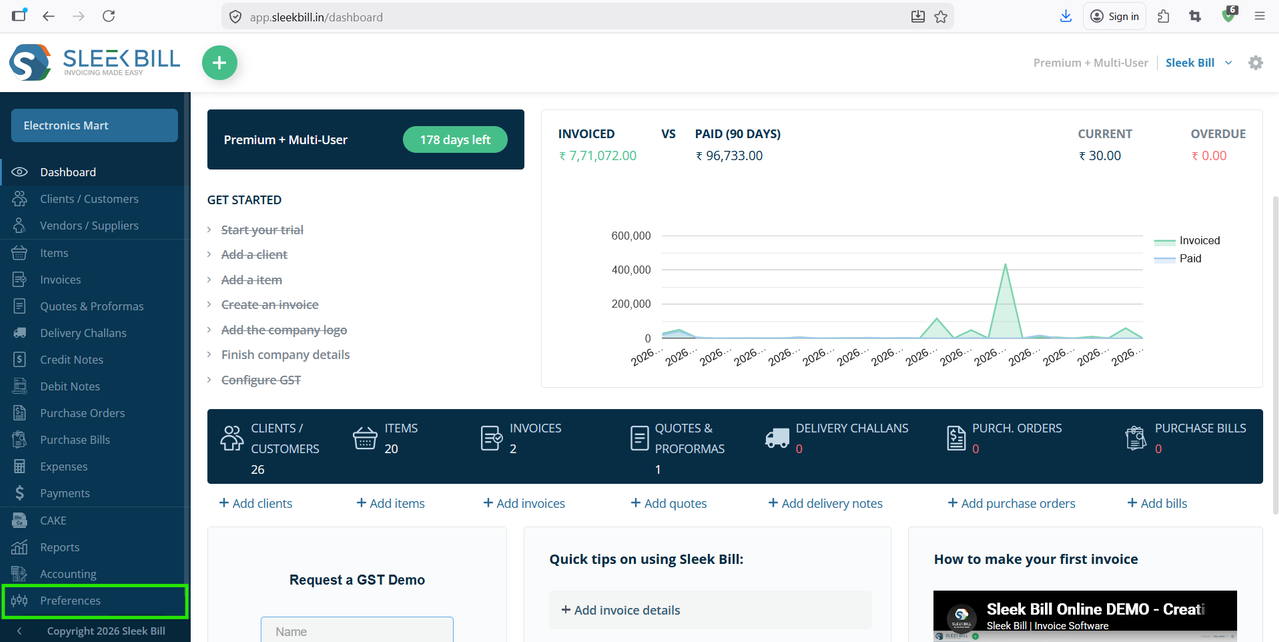
Step 3: After successful login, you will reach the dashboard. From the left-side menu, click on Preferences.
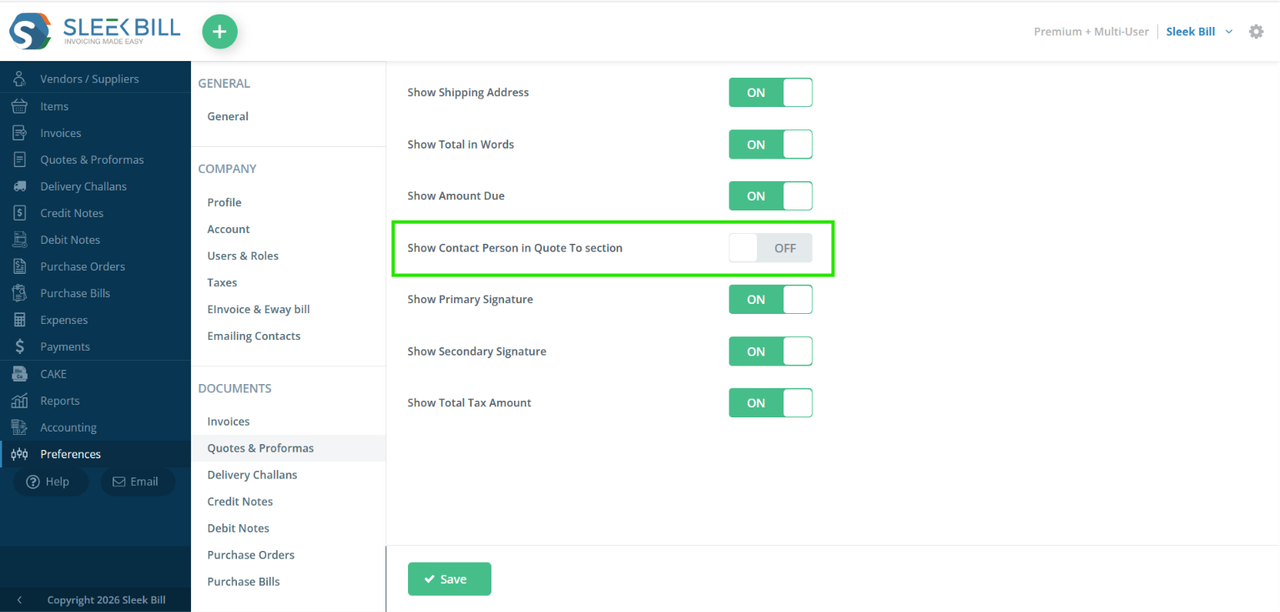
Step 4: Inside Preferences, navigate to Documents → Quotations. Here you will find all quotation-related settings.

Step 5: In the quotation settings section look for the option related to Contact Person. Enable or check the setting to display contact person details in quotations
Step 6: Then click on save button at bottom to save the changes.
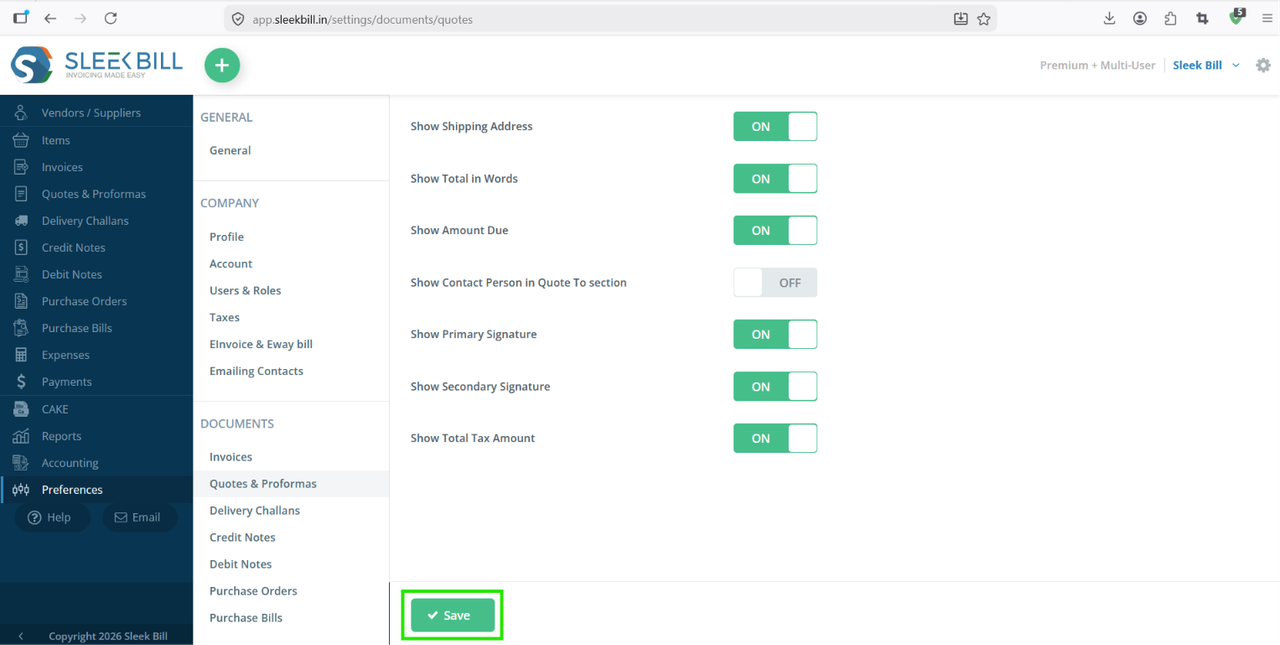
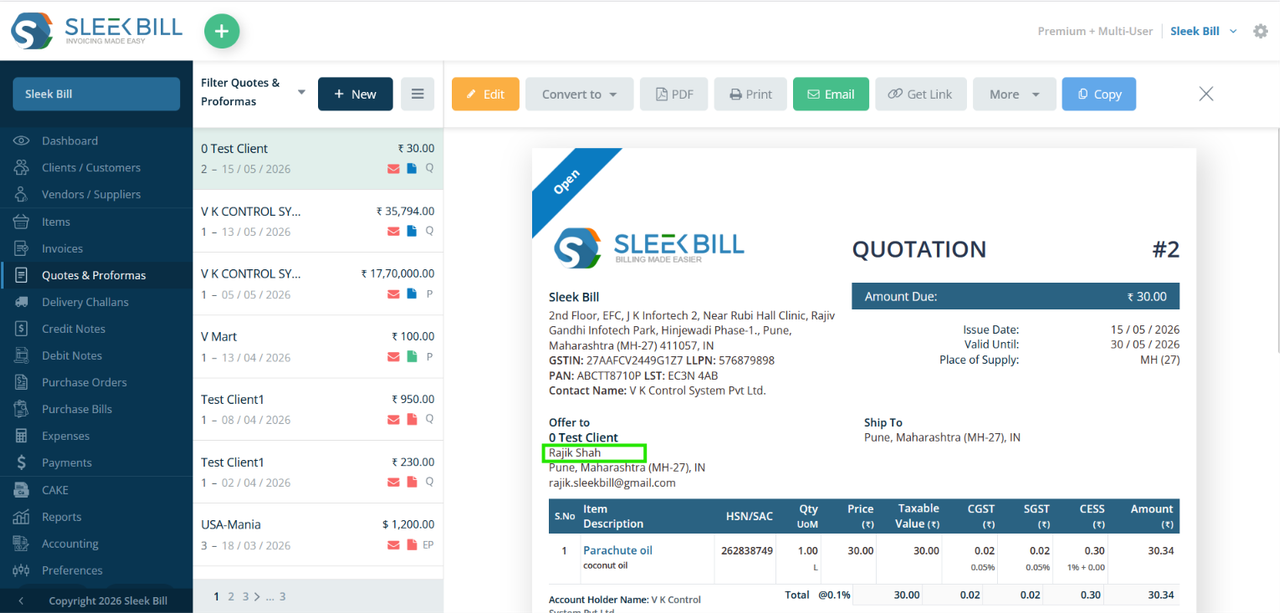
You will now see the Contact Person Name displayed in the “Quote To” section.
Benefits of Using Contact Person in Quotations
Using this feature helps businesses:
- Improve customer communication
- Make quotations more professional
- Reduce misunderstandings
- Maintain accurate customer records
- Handle multiple contacts efficiently
Conclusion
Adding a contact person in the quotation document improves professionalism and ensures the quotation reaches the right individual. With Sleek Bill GST Billing Software, enabling this feature is quick and simple.
Start creating smarter and more professional quotations today with Sleek Bill.
Was this article helpful?