🧾 Billing & Invoicing
How to Show Primary Signature in Invoice in Sleek Bill
In this guide, we will learn how to upload and display the primary signature on invoices in Sleek Bill.
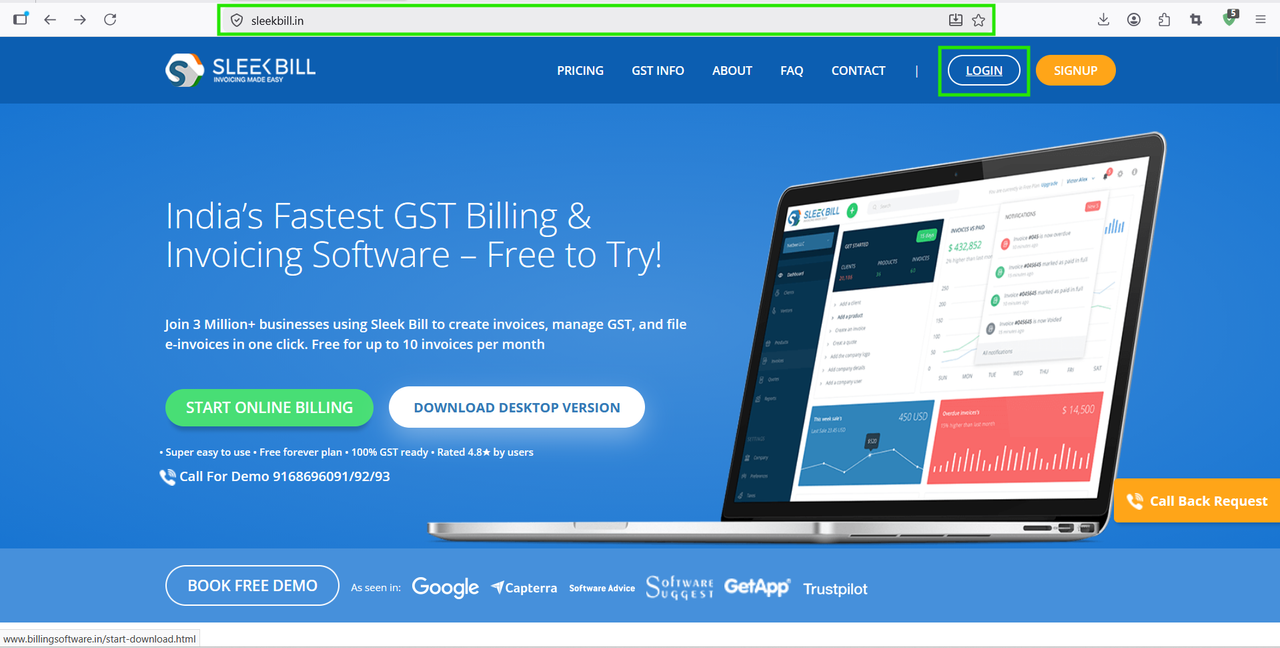
Step 1 : First, open your browser and visit www.sleekbill.in. On the top-right corner, click on the Login button.
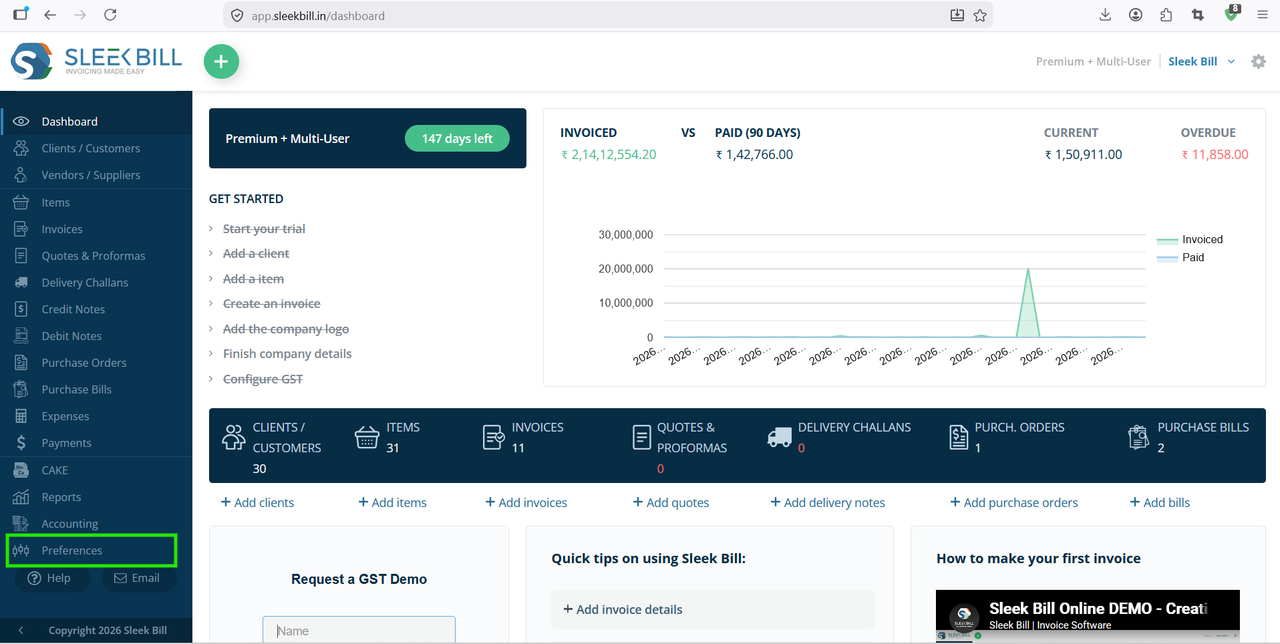
Step 2 : Enter your registered email ID and password, then click on Sign In. After login, you will reach the Sleek Bill dashboard.
.png)
Step 3 : From the dashboard, go to the Preferences section.
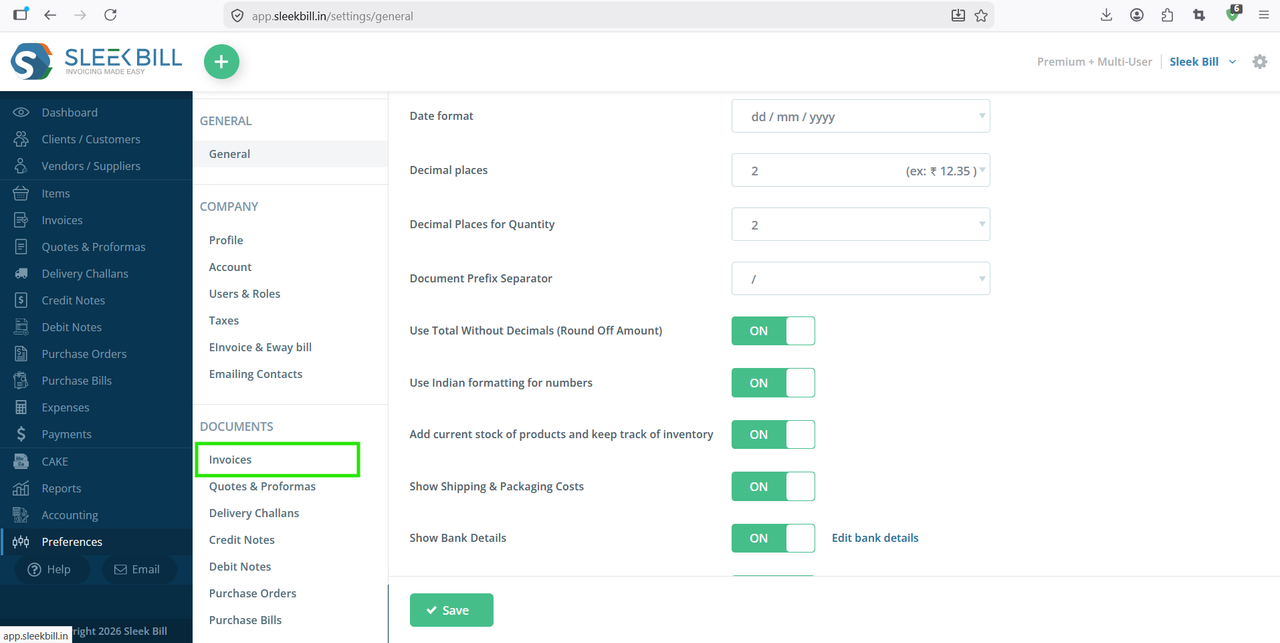
Step 4 : Now go to: Documents → Invoices
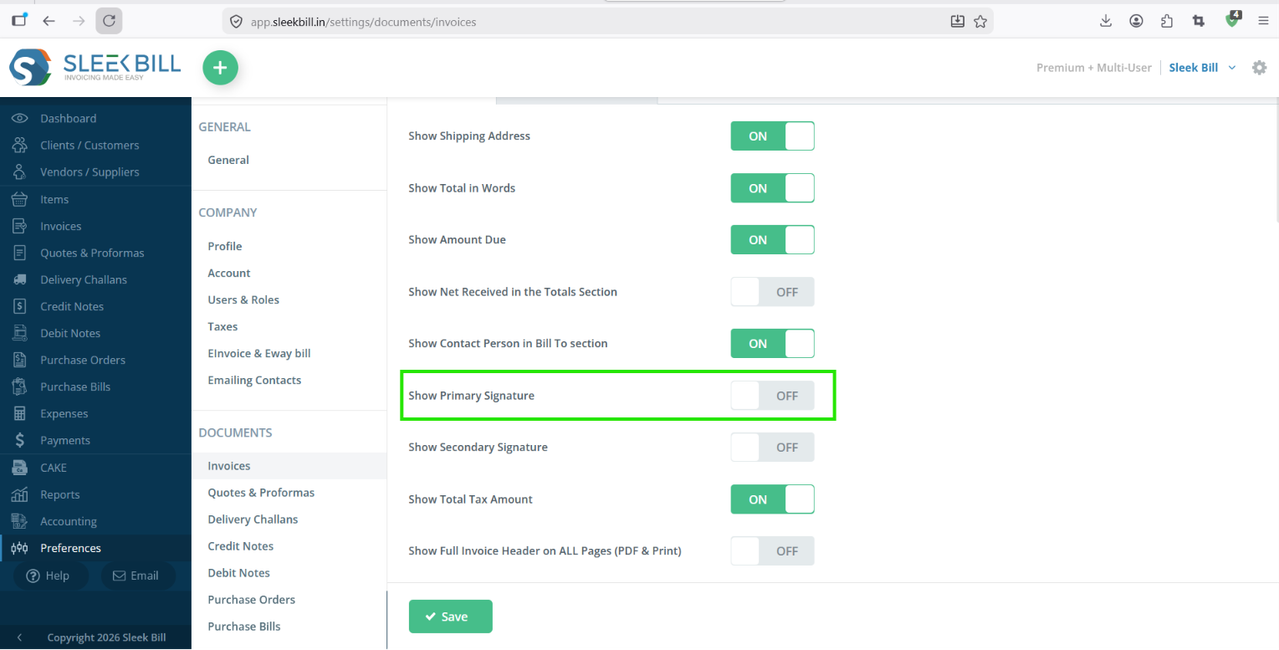
Step 5 : Inside invoice settings, look for the option Show Primary Signature. Enable this option and click on Save button. This setting allows the uploaded signature to appear automatically on your invoices.
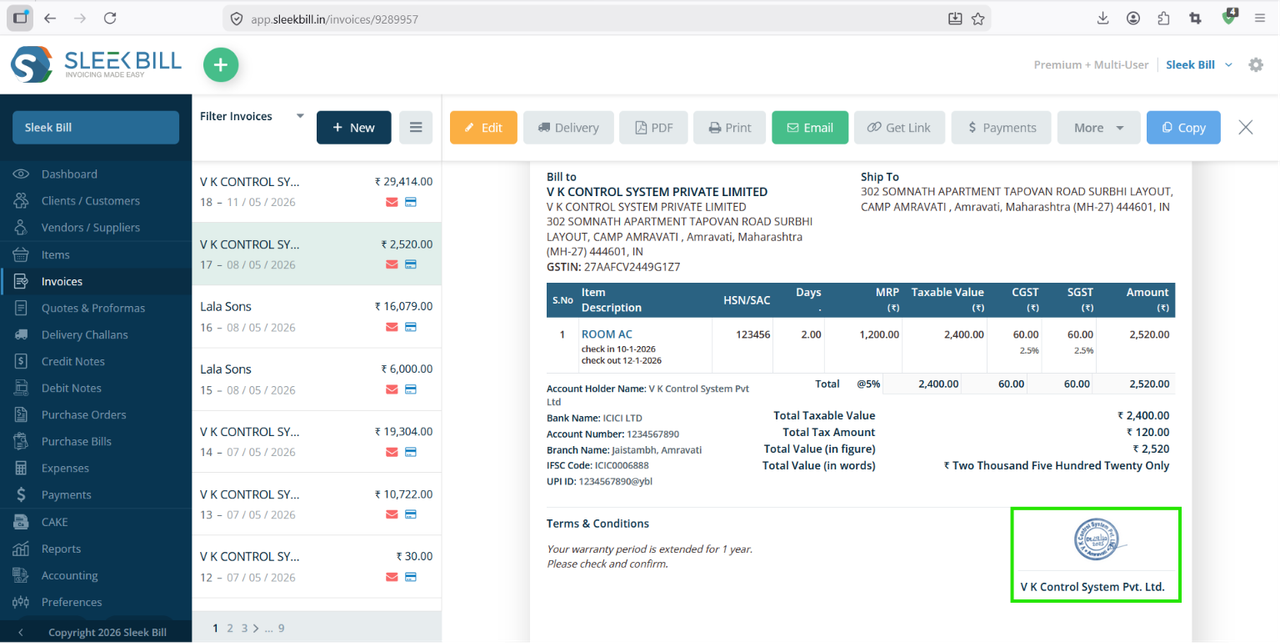
Now
create a new invoice or open an existing invoice preview. You will see
the primary signature displayed at the bottom of the invoice document.
Benefits of Showing Signature in Invoice
Adding a signature in invoices provides several advantages:- Gives invoices a professional appearance
- Builds customer trust
- Helps authenticate invoices
- Useful for GST and official business documentation
- Saves time compared to manual signing
Conclusion
Showing the primary signature in Sleek Bill is simple and takes only a few minutes. Just upload your signature image, enable the “Show Primary Signature” option in invoice settings, and your invoices will automatically display the signature.
This small customization helps create more professional and trustworthy invoices for your business.
This small customization helps create more professional and trustworthy invoices for your business.
Was this article helpful?