How to Show Secondary Signature In Invoice
Adding a secondary signature to your invoice in Sleek Bill helps businesses include an additional authorized signatory for approvals, verification, or compliance purposes. This feature is useful when invoices require signatures from multiple departments or company representatives.
In this guide, we’ll walk through the simple steps to enable and display the secondary signature on your invoices.
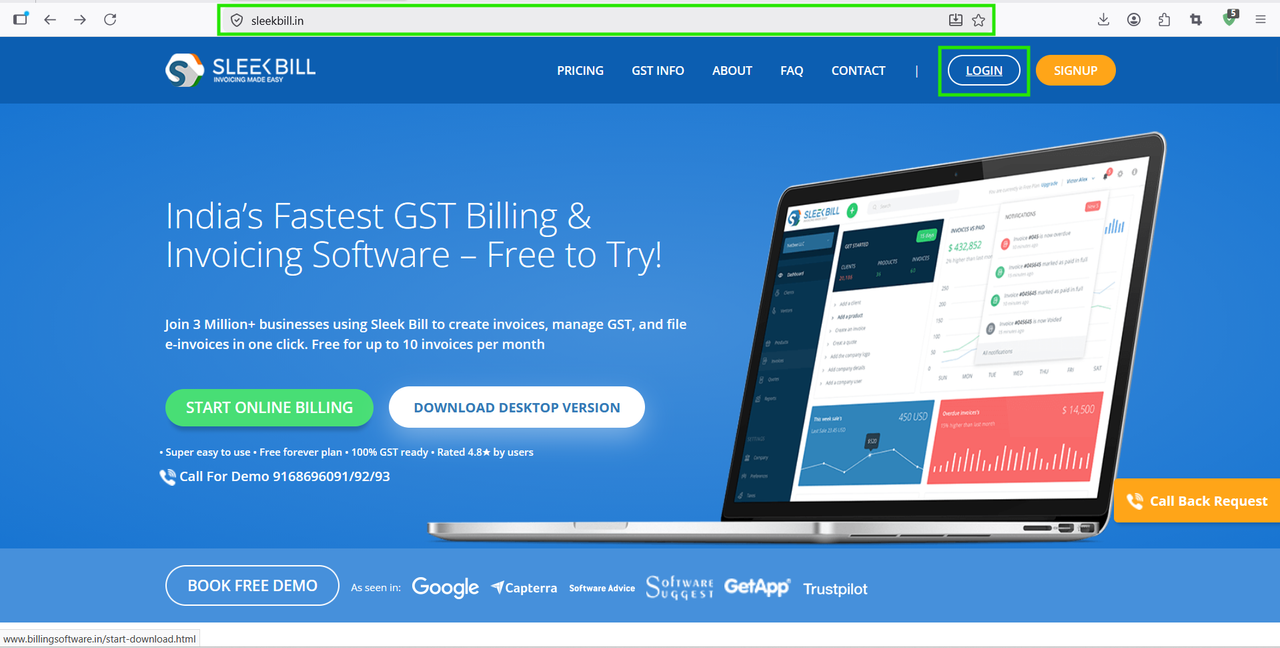
Step 1 : First, open your browser and visit www.sleekbill.in Then click enter. Once the website loads, click on the Login button available at the top-right corner of the screen.
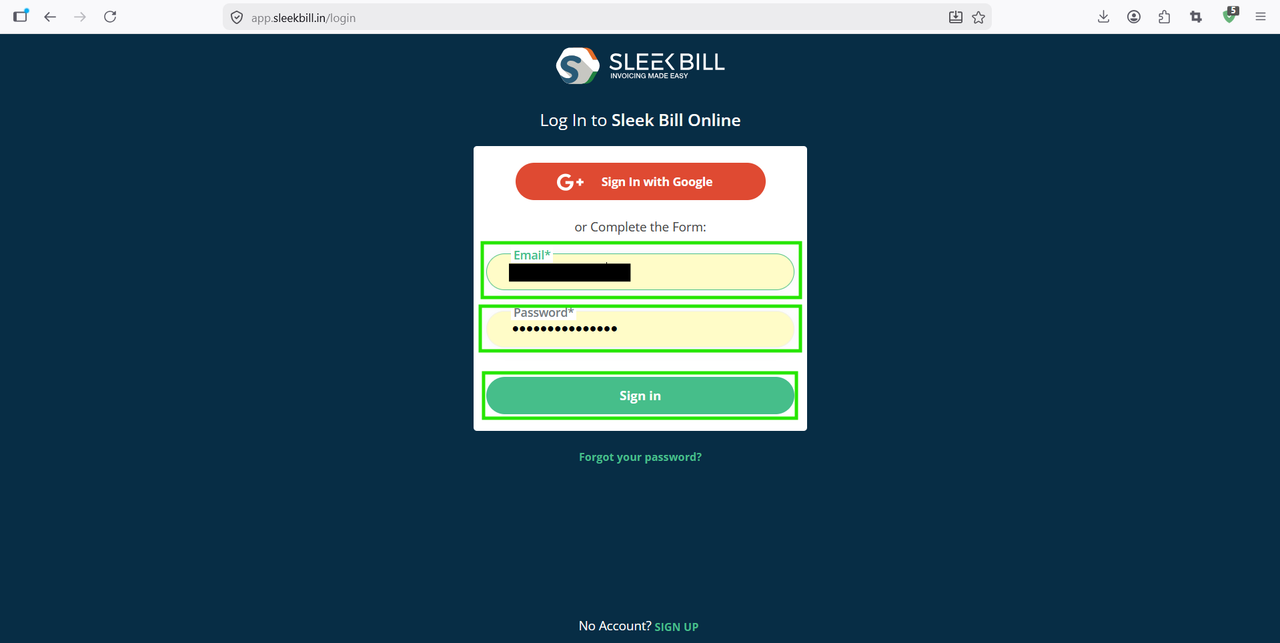
Step 2 : Enter your registered email ID and password, then click on the Sign In button.
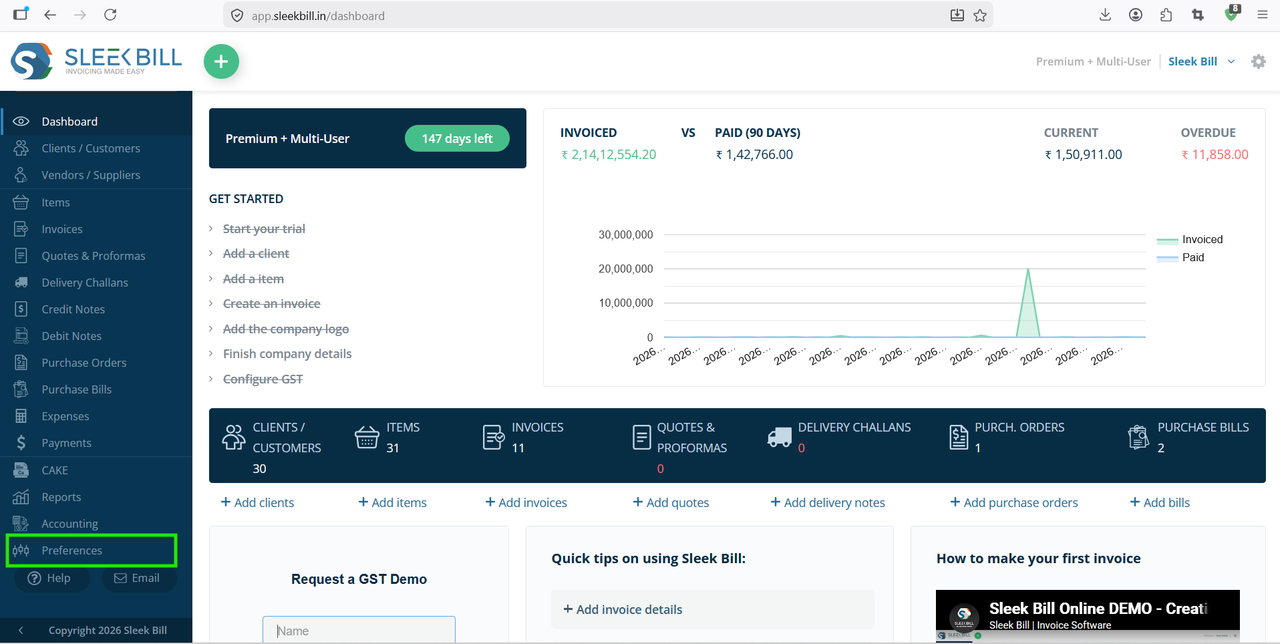
Step 3 : After successful login, you will be redirected to the dashboard. From the dashboard menu, click on Preferences.
Step 4 : Inside Preferences, you will find all invoice and company-related settings. In the left sidebar menu, scroll down and click on Invoice settings.
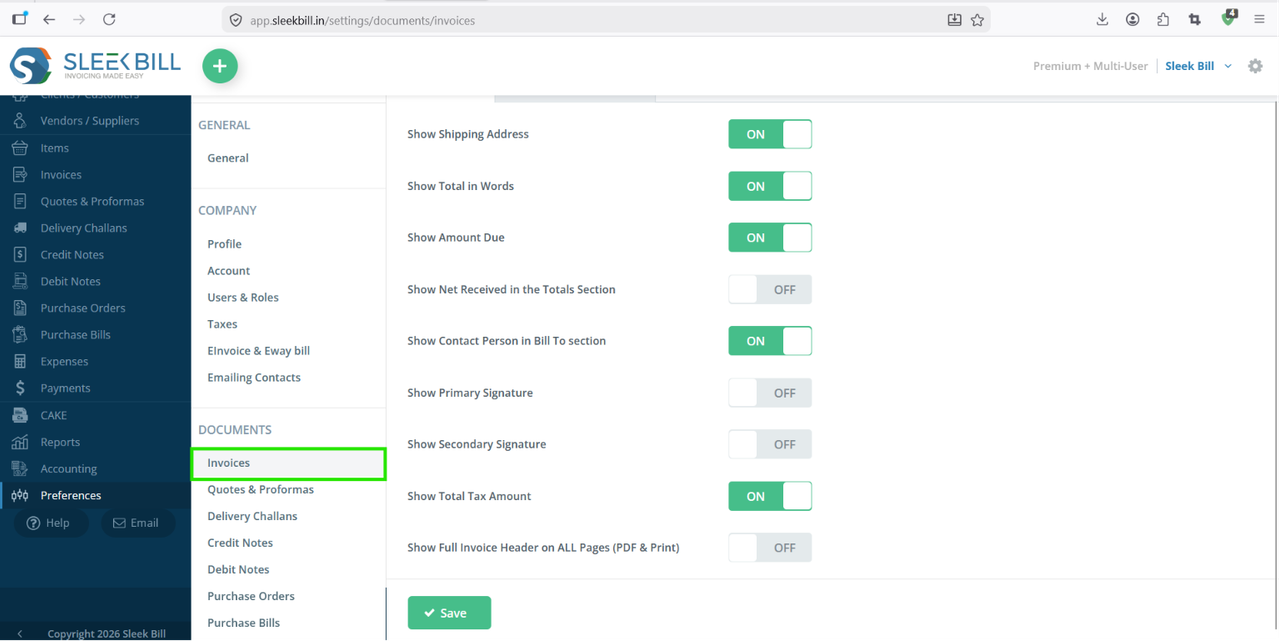
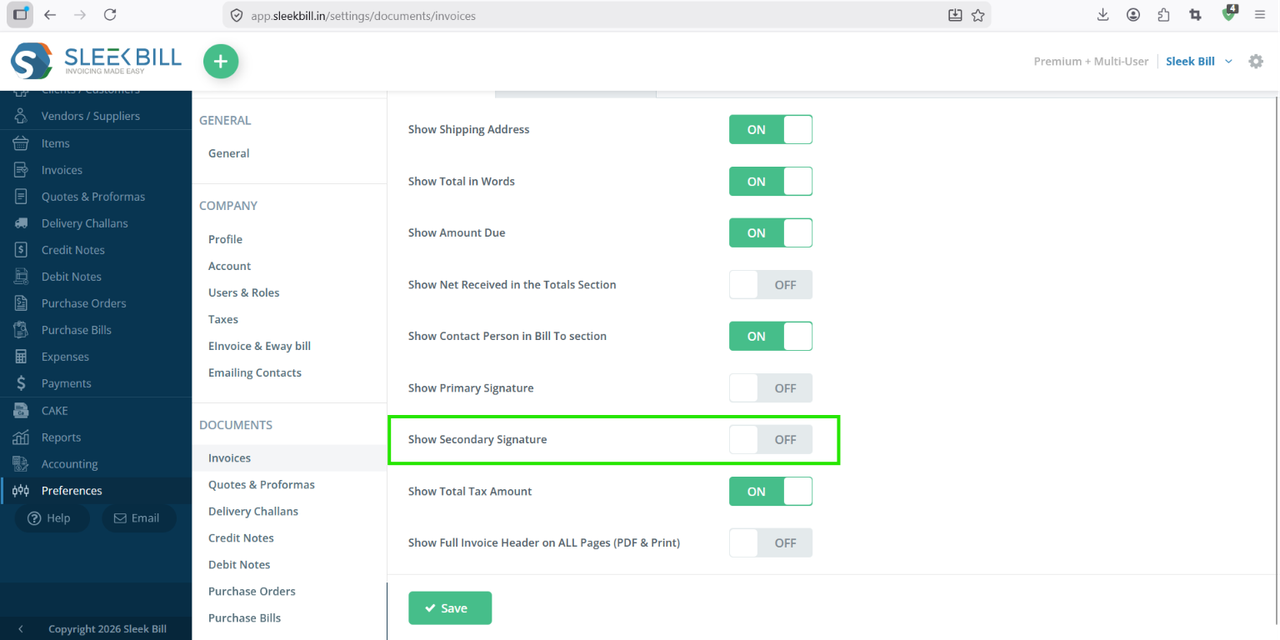
Step 5 : Now locate the Secondary Signature option. Turn ON the toggle for show in invoice.
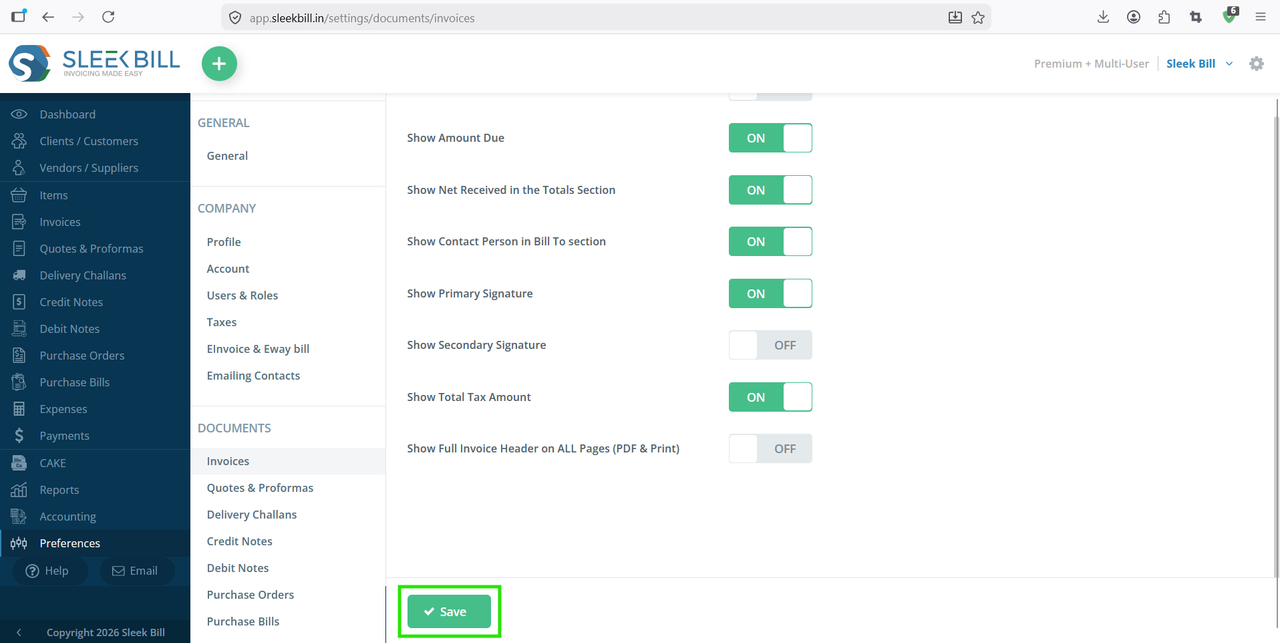
Step 6 : After updating the details, click on the Save button.
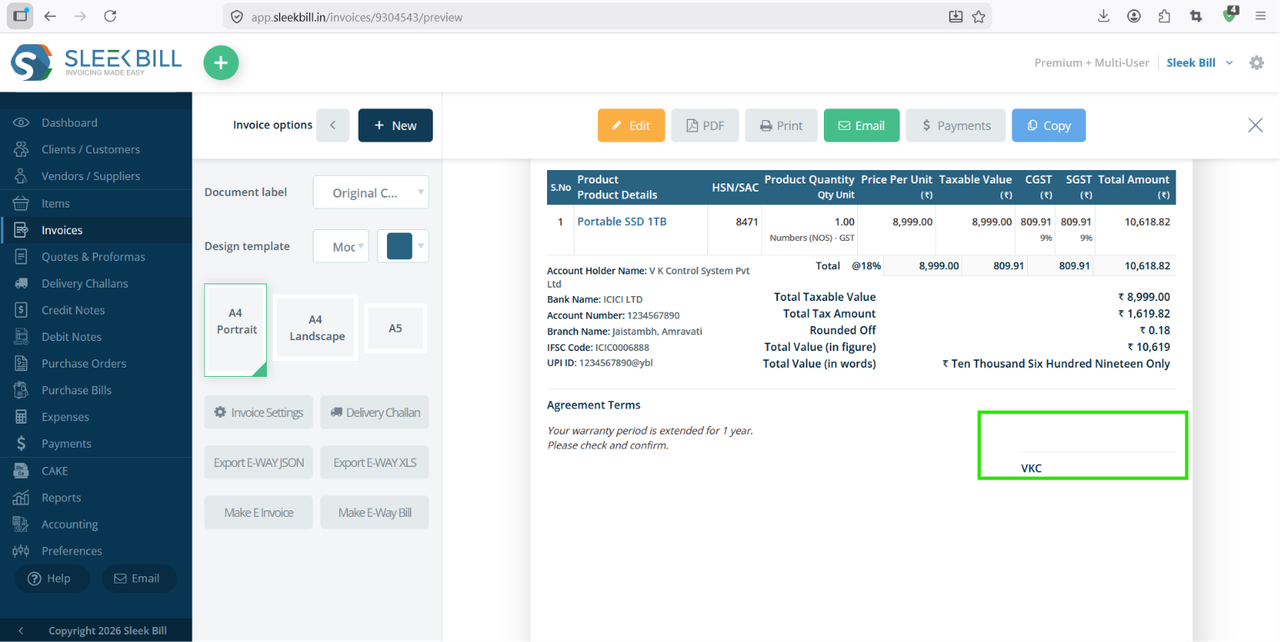
Go to the Invoices section and open any existing invoice or create a new one. Click on Preview or Print. You can see secondary signature in invoice.
Benefits of Using Secondary Signature in Invoices
- Adds extra authorization layer
- Improves professionalism
- Useful for finance and approval workflows
- Supports multi-department verification
- Helps maintain compliance documentation
Conclusion
Showing a secondary signature in invoices using Sleek Bill Billing Software is quick and easy. By enabling this feature, businesses can make invoices more professional and suitable for approval-based processes.
If you regularly require multiple authorized signatories on invoices, this setting can save time and streamline your billing workflow.
Was this article helpful?